Introduction: Small mistakes, big risks
Every site has one shared danger: the edge. Temporary edge protection prevents falls—but only if it’s planned early, installed the right way, and checked often. Even experienced crews can miss small details that turn into big problems. Here are five mistakes we still see on projects, plus simple steps to avoid them.
1) Treating edge protection as a last-minute add-on
What goes wrong
- Barriers are ordered late and “made to fit” on the day.
- Openings, stairs, and curves are hard to protect because nothing was measured early.
- Work slows down while teams wait for the right parts.
How to avoid it
- Plan edge protection from day one. Put it in the design and the programme.
- Walk the site (or study drawings) and mark edge zones by slope, wind, and activity.
- Choose the class you need (A/B/C under EN 13374 or your local rules).
- Write a simple fixing plan: what anchor to use, spacing, and torque.
- Brief the team before work starts.
Quick check
- Zones mapped
- Class chosen
- Fixing plan written
- Team briefed


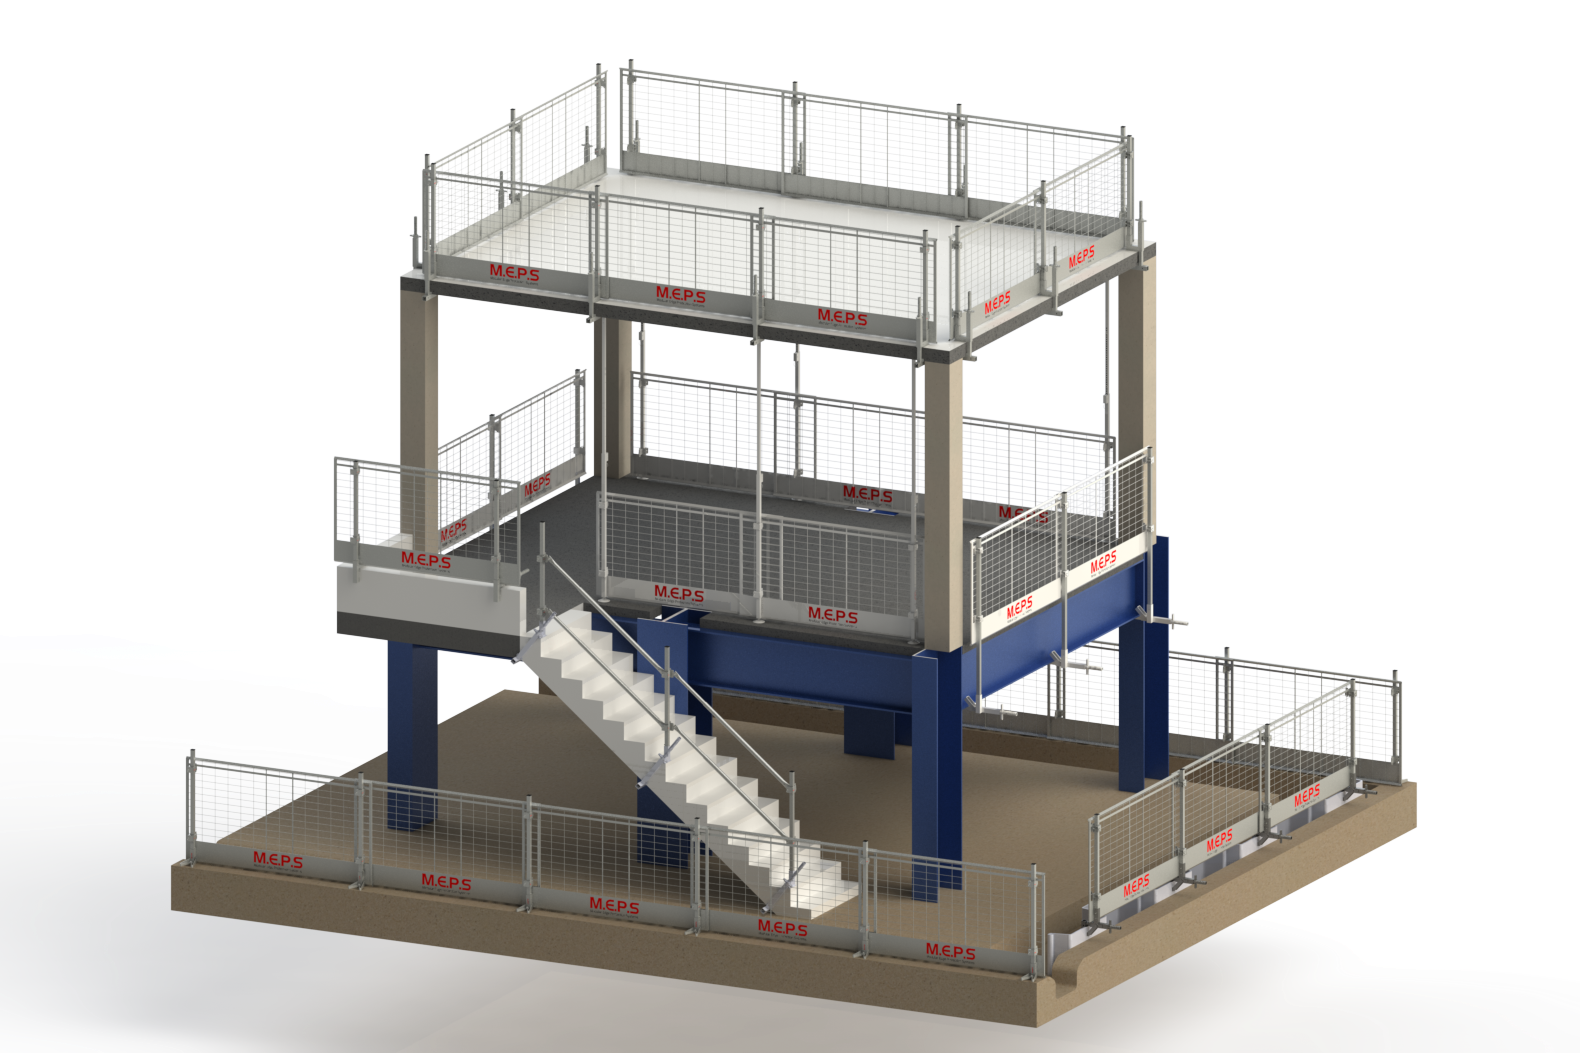
2) Using the wrong system for the structure
What goes wrong
- Concrete kits get pushed onto steel or timber frames.
- Gaps appear under mesh or rails on beams and edges.
- Pitched slabs are treated like flat ones.
How to avoid it
- Match the system to the structure: concrete, steel, timber, or mixed.
- Pick the right class for the job and the slope (A/B/C).
- Use the right brackets, posts, and infill pieces for stairs, corners, and voids.
- Keep proof of testing and a Declaration of Conformity on file.
- Don’t mix brands unless the maker says it’s safe.
Quick check
- Structure type confirmed
- System and class match the task
- Adapters/infill listed
- Test docs saved

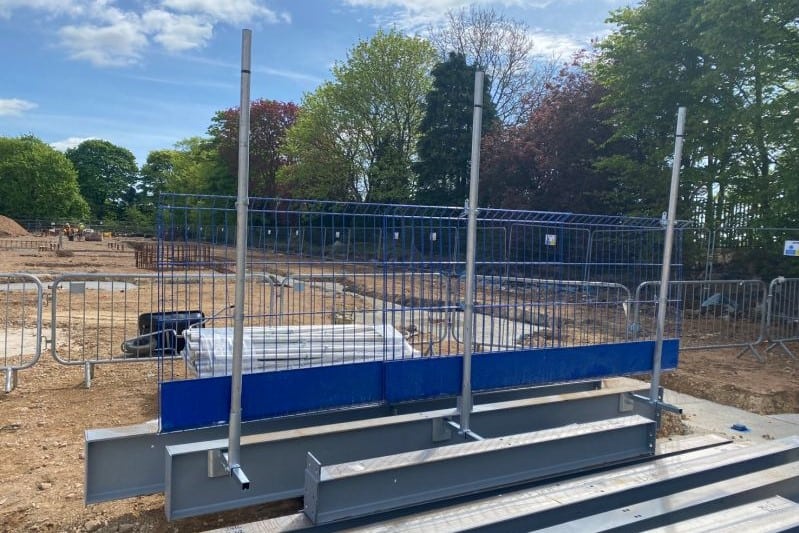
3) Poor installation and weak fixings
What goes wrong
- Mixed bolts, missing pins, loose posts, or clamps not fully engaged.
- No torque record.
- Posts wobble and panels rattle after a few days.
How to avoid it
- Follow the manual exactly—spacing, depth, torque, clamp engagement.
- Run a short toolbox talk with “right vs wrong” photos.
- Use anchors suited to the substrate; do pull tests when needed.
- Have a reject bin for damaged parts. Tag suspect items so they’re not reused.
- Take photos after installation and save them by zone.
Quick check
- Correct anchors and spacing
- Torque logged
- Damaged parts removed
- Photos saved
4) Ignoring interfaces, wind, and temporary removal
What goes wrong
- Panels are taken off for a lift or delivery and never put back.
- Gaps around stairs, steps, curved edges, or parapets stay open.
- Wind picks up and there’s no plan for tie-backs or stop points.
How to avoid it
- Write a simple “remove and refit” note: who removes, who reinstalls, and by when.
- Use the right adapters and infills at tricky spots so no gap is left open.
- Set wind limits for your site: when to add tie-backs, when to stop, and when to re-check.
- Do a quick sweep at the end of each shift to spot missing pieces.
Quick check
- Removal has an owner
- All transitions infilled
- Wind limits briefed
- End-of-shift sweep done

5) “Fit and forget” — no inspections or records
What goes wrong
- No tag on the barrier, so nobody knows the last check date.
- Faults found by chance and never written down.
- Panels are moved and nobody re-checks the area.
How to avoid it
- Do a pre-use check and then a weekly check by a competent person.
- Use a simple traffic-light tag on each zone (OK / Due / Fail).
- Label parts with batch or QR codes if you can. Store photos by zone.
- Set a time limit to fix faults and re-check after storms or any changes.
Quick check
- Tag is current
- Weekly check logged
- Faults closed out
- Re-checks after events
Conclusion
Edge protection doesn’t fail because crews don’t care—it fails when planning, selection, install, or checks slip. Keep it simple and consistent: plan early, match the system to the structure and task, install by the book, and inspect on a schedule. Do those four steps and you’ll cut rework, avoid stop-works, and keep people safe.
Make it routine:
- Build edge protection into design, RAMS, and the programme from day one.
- Choose the right class (A/B/C under EN 13374) and the right brackets/adapters for your structure.
- Log torque, take photos at handover, and tag each zone.
- Re-inspect weekly and after any storm, impact, or change.